Tooltip Onboarding That Drives Activation, Not Click-Through
Most tooltip onboarding fails because it optimizes for clicks instead of behavior change: users dismiss hints, keep wandering, and never reach the first meaningful outcome in your product. The fix is to treat every tooltip as a micro-intervention tied to a specific job-to-be-done, a precise trigger, and a measurable activation event.
- Use tooltips only when the user is already in the right context and one small nudge can unlock the next step.
- Design each tooltip with a clear Trigger, Promise, and Proof so it maps to intent and visible value, not UI decoration.
- Measure tooltip onboarding by segment and industry use case using a simple event schema, step drop-off, and activation lift.

When tooltip onboarding works and when it hurts activation
Tooltips are best when the user is already looking at the right screen and needs a small, contextual push to complete a high-leverage action. They backfire when they interrupt exploration, explain obvious UI, or try to replace a real onboarding flow.
Best-fit scenarios for tooltip onboarding
- “Next action is one click away.” The user is on the correct page, and the tooltip points to the exact control that completes the step (for example, “Connect your data source” on an integrations page).
- “The UI is discoverable but not obvious.” Power features hidden behind icons, menus, or advanced settings (for example, filters, bulk actions, saved views).
- “Users need reassurance, not instruction.” Tooltips that reduce anxiety (for example, “You can change this later” near a pricing plan selector or permissions setting).
- “You can show immediate value.” The tooltip leads to a visible result in seconds (a chart updates, a checklist item completes, a draft is generated).
Anti-patterns that reduce activation
- Tooltip spam. More than 1 to 2 tooltips on first load. Cognitive overload increases dismiss rate and trains users to ignore guidance.
- Explaining labels. “This is the Settings page.” Tooltips should change what the user does next, not narrate the interface.
- Wrong timing. Showing guidance before the user has intent (for example, a tooltip about exporting on the very first session).
- Blocking core tasks. Tooltips that cover primary buttons, steal focus, or require multiple dismissals.
- No measurable goal. If you cannot name the activation event it should influence, it is likely UI noise.
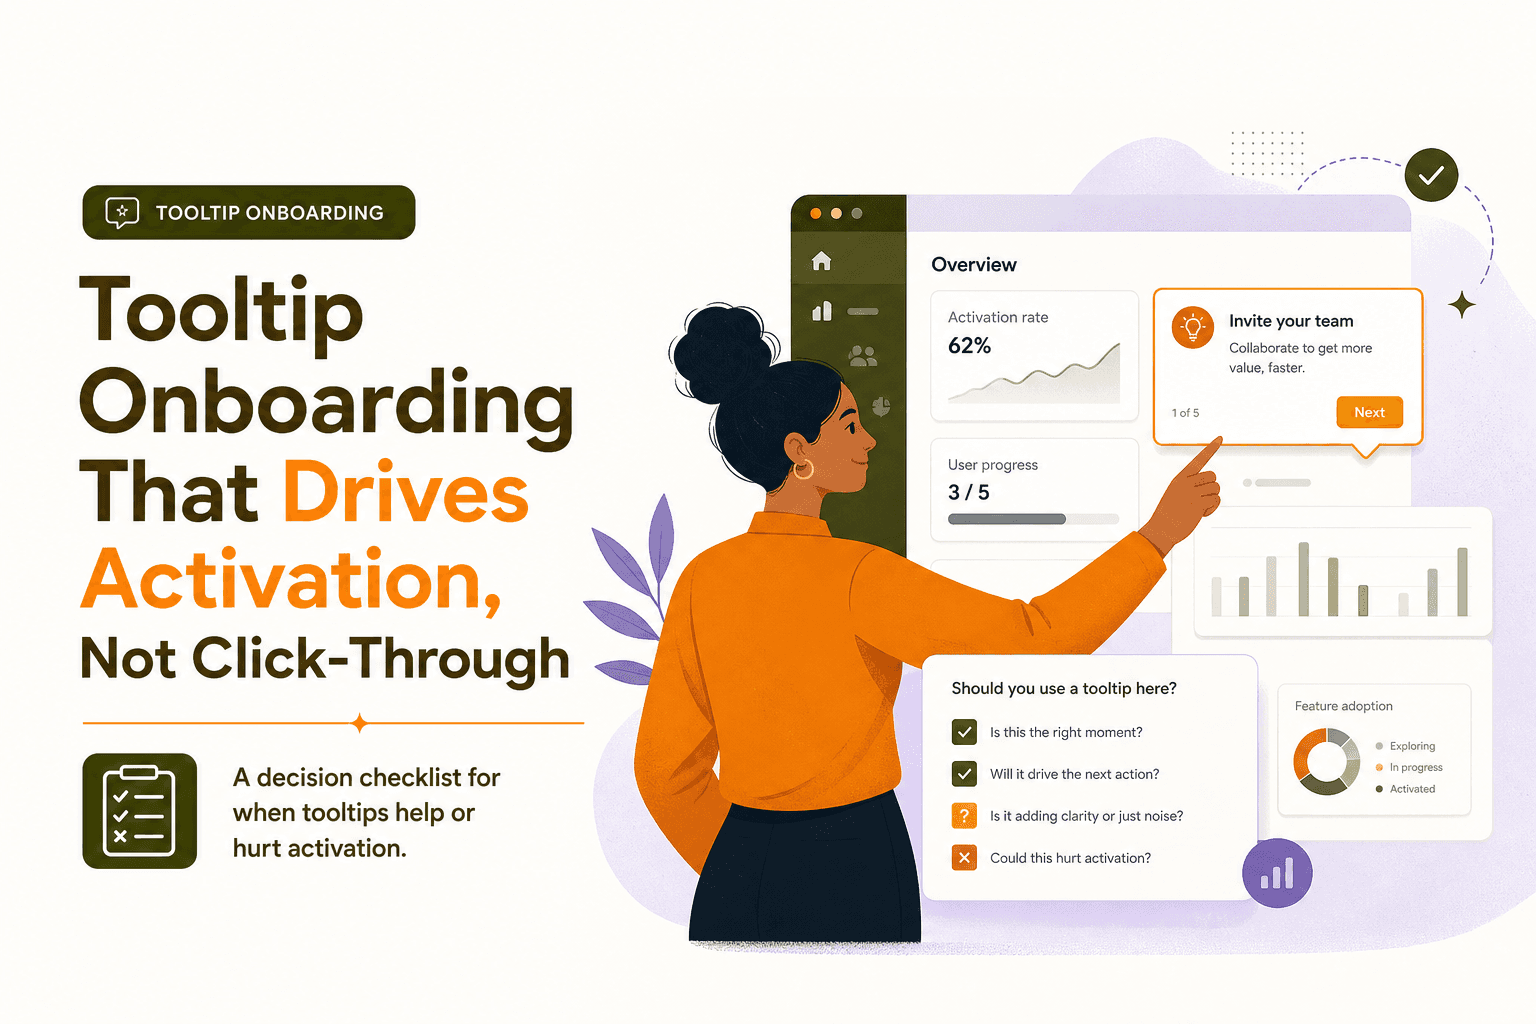
A quick decision checklist before you ship a tooltip
- Context: Is the user already on the screen where the action happens?
- Intent signal: Do you have a trigger (URL, role, segment, prior event) that suggests they want this?
- Action: Can the user complete the step in one interaction from the tooltip?
- Value: Will the user see proof of progress within 10 to 30 seconds?
- Metric: Which event should increase if the tooltip works?
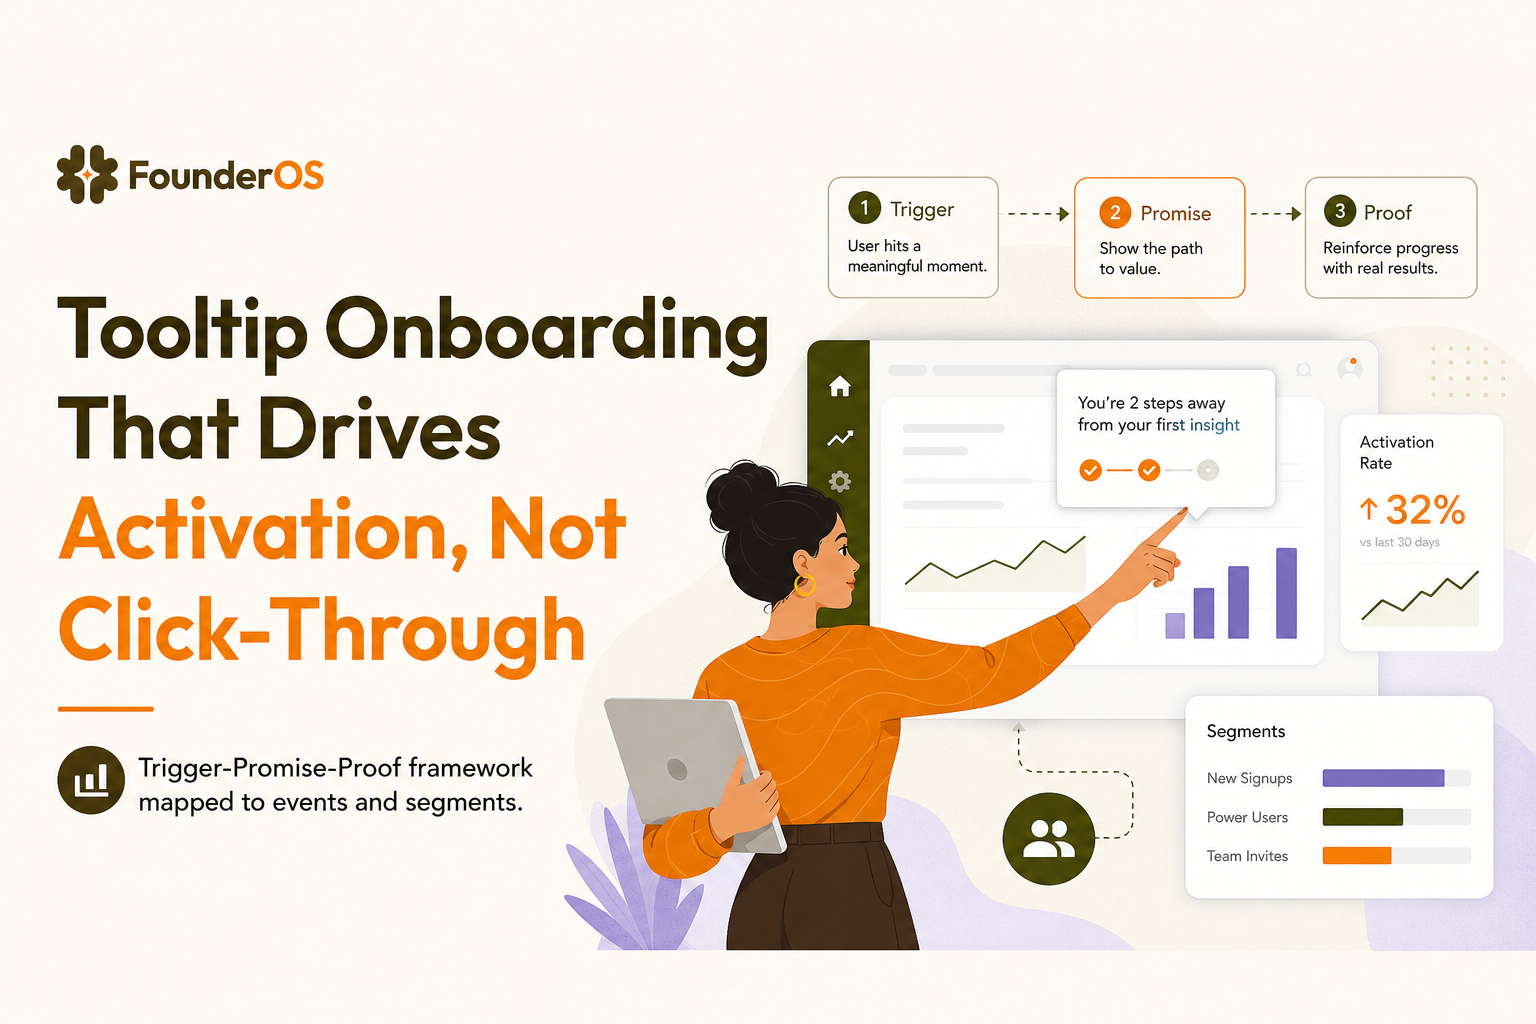
A 3-part tooltip onboarding framework: Trigger, Promise, Proof
To make tooltip onboarding change behavior, design it like a mini experiment. Each tooltip should be anchored to a real user job, shown only when a trigger indicates readiness, and end with visible proof that the step mattered.
1) Trigger: show it only when the user is ready
A trigger is the rule that decides who sees the tooltip and when. Good triggers reduce annoyance and improve completion rates because they align with intent.
Common trigger types you can combine (use AND/OR logic):
- Page or UI context: URL contains
/dashboard, user opened a specific modal, user hovered a feature. - User attributes: role = admin, plan = trial, industry = ecommerce, team_size < 10.
- Behavior: user has not completed “Create first project”, user clicked “Import” but did not finish, user returned 2nd session without activation.
- Time-based: show after 15 seconds on page, or on session 2 if activation is not reached.
Trigger quality test: If you cannot describe the user’s likely intent in one sentence, the tooltip should not fire yet.
2) Promise: a single, specific next step tied to a job-to-be-done
The promise is the tooltip copy and call-to-action. It must answer: “Why should I do this now?” It should be concrete and outcome-oriented, not feature-oriented.
Copy template you can reuse:
- Verb + outcome: “Connect Stripe to see MRR in your dashboard.”
- Remove friction: “Invite a teammate. You can change permissions later.”
- Reduce uncertainty: “Start with a sample project. You can replace it anytime.”
Promise checklist:
- Uses a verb that matches the UI action (Connect, Create, Import, Invite, Publish).
- Mentions the immediate outcome (what changes on screen or what becomes possible).
- Avoids multi-step instructions. If it is more than one step, use a guided flow instead of a single tooltip.
3) Proof: show visible value right after the click
Proof is what the user sees after following the tooltip. Without proof, tooltip onboarding becomes busywork and users stop trusting it.
Examples of proof:
- A dashboard card populates with real data (even if partial).
- A checklist item completes and the next recommended action appears.
- A “success” state with the next best step (not just “Done”).
- A before/after preview (for example, “Your first automation is live”).
Proof benchmark: Aim for a visible change within 10 to 30 seconds of the tooltip click. If the payoff is delayed (for example, “Wait for data to sync”), add an interim proof state like “Sync started” plus an ETA and where to check progress.
How to measure and iterate tooltip onboarding by segment and industry
If you do not measure, you will optimize for the wrong thing. Click-through rate is a weak signal because it does not tell you whether the tooltip moved users toward activation. Instead, measure the downstream behavior: did users reach the activation event faster and more often?
Step 1: define the activation event for each industry use case
Activation is not “saw tooltip” or “clicked tooltip.” It is the first moment the user experiences the product’s core value. Define it per use case and industry, because “first value” differs.
- B2B analytics tool: “Tracked first event” and “Viewed first report.”
- CRM: “Imported contacts” and “Created first pipeline stage.”
- Project management: “Created first project” and “Assigned first task.”
- Fintech: “Linked bank account” and “Completed first transfer.”
Step 2: instrument an event schema that connects tooltip to outcome
You need a minimal set of events that lets you answer: “Which tooltip helped which segment reach which activation event?” Here is a lightweight schema.
- tooltip_shown (properties: tooltip_id, screen, segment, experiment_variant)
- tooltip_clicked (properties: tooltip_id, cta_label)
- tooltip_dismissed (properties: tooltip_id, dismiss_type)
- step_completed (properties: step_name, flow_id)
- activation_reached (properties: activation_definition, time_to_value_seconds)
To keep analysis clean, keep tooltip_id stable, and store the tooltip’s intended target event as metadata in your tracking plan (for example, tooltip_id = connect_integration_tooltip maps to activation milestone “integration_connected”).
Step 3: evaluate with three metrics, not one
Use a small scorecard per tooltip. This prevents you from shipping “high click, low impact” hints.
- Engagement: click-through rate = tooltip_clicked / tooltip_shown
- Progression: completion rate of the intended step within a time window (for example, within 10 minutes)
- Impact: activation lift and time-to-value reduction for users who saw the tooltip vs a holdout group
For experimentation standards and statistical basics, you can reference Optimizely’s experimentation resources: A/B testing glossary.
Step 4: segment results so you do not average away the truth
Tooltip onboarding often works for one segment and fails for another. Always break down by:
- Role: admin vs member vs viewer
- Lifecycle: first session vs returning without activation
- Acquisition channel: sales-led vs self-serve (intent and patience differ)
- Industry use case: the “aha moment” action varies by workflow
Iteration cadence: review weekly for new tooltips, then biweekly once stable. If you ship multiple changes at once, you will not know what caused improvement.
A practical build plan: from tooltip idea to measurable activation lift
This is a simple workflow you can run in 60 to 90 minutes per tooltip, including measurement setup.
1) Write the tooltip spec in a single row
- Job-to-be-done: what the user is trying to accomplish
- Trigger rule: who sees it and when
- Promise copy: one sentence plus CTA
- Proof state: what changes after the click
- Target metric: intended step completion and activation event
2) Decide whether a tooltip is enough or you need a flow
If the user must complete more than one UI step, use a short guided sequence instead of a single tooltip. If you are designing a multi-step experience, it can help to borrow structure from a guided product tour and keep each tooltip as a purposeful step, not a standalone hint.
3) Add a safety valve so users stay in control
- Allow dismiss and do not reshow immediately.
- Cap frequency (for example, max 1 tooltip per screen, max 3 per session).
- Provide a “Learn more” link when the action has risk or requires context.
4) Create a measurement-ready onboarding checklist
Tooltips are easier to manage when they align to a checklist of activation milestones. If you are already using an onboarding checklist, map each tooltip to exactly one checklist item and one success event.
5) Validate against product onboarding best practices
Before shipping, run a quick QA against proven patterns: clarity, timing, minimal steps, and measurable outcomes. This pairs well with a short review of product onboarding best practices so you avoid common mistakes like over-teaching or interrupting the user’s primary task.
| Tooltip goal | Good tooltip onboarding example | Bad example | What to measure |
|---|---|---|---|
| Drive a single next step | “Import 10 contacts to unlock your first pipeline view.” | “This is where you can import contacts.” | Import completed within 10 minutes |
| Reduce uncertainty | “Start with a template. You can edit everything later.” | “Choose a template.” | Template selected, project created |
| Improve feature discovery | “Save this view to reuse it every week.” | “Click here to save.” | Saved view created, repeat usage in 7 days |
| Move toward activation | “Connect your data source to see your first report.” | “Integrations are available here.” | Integration connected, first report viewed |
FAQ
How many tooltips should I show in the first session?
As a rule, start with 1 to 3 total in the first session, each tied to a high-leverage action and a clear proof state. If you need more steps, switch to a short guided flow rather than stacking tooltips.
What is a good success metric for tooltip onboarding?
Use a three-part scorecard: click-through rate (engagement), intended step completion within a short window (progression), and activation lift or reduced time-to-value (impact). Impact is the metric that matters most.
How do I prevent tooltips from annoying returning users?
Use triggers based on behavior and completion: do not show a tooltip if the user already completed the step, cap frequency per session, and only reshow after a meaningful delay (for example, next session) if the user still has not reached the activation milestone.
When should I use a checklist or tour instead of a tooltip?
If the user must complete multiple steps, navigate across screens, or needs context to make a decision, a checklist or guided flow will outperform a single tooltip. Tooltips work best as precise nudges inside an already-intended workflow.
If you want to implement tooltip onboarding with clear triggers, conditional targeting, and measurable impact without engineering cycles, Founder OS can help you build and publish in-app flows quickly, then track completions and activation movement so you can iterate by segment.
